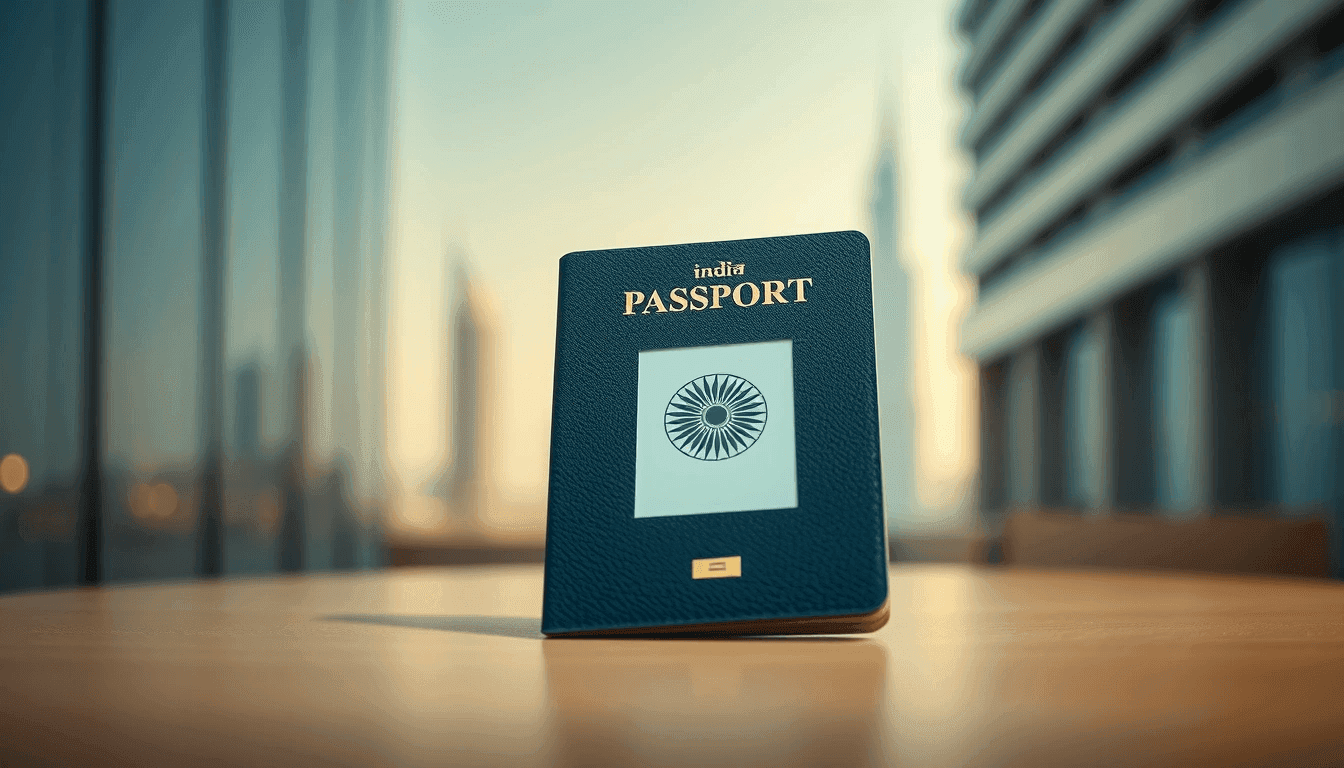
Changing your photo in an Indian passport while you're in the UAE is a straightforward process, typically done as part of a passport re-issue application. Whether your current passport is nearing expiry, your appearance has significantly changed, or you simply need a new photo, you'll apply for a "Re-issue of Passport" through the official channels.
This guide will walk you through everything you need to know, from preparing your documents to collecting your new passport, making the process as smooth as possible.
While there isn't a standalone application just to "change a photo," your photo is updated whenever you apply for a passport re-issue. Common reasons for this include:
- Passport Expiry: Your passport is expiring soon (within one year) or has already expired.
- Exhaustion of Pages: You've run out of visa pages.
- Change in Particulars: Your name, address, or other details have changed.
- Damaged/Lost Passport: Your passport is damaged or lost.
- Significant Change in Appearance: Your current passport photo no longer resembles you.
Regardless of the primary reason for re-issue, a new, compliant photograph is always a key requirement.
Before you start, gather all necessary documents. Being prepared is half the battle won!
- Original Indian Passport: Your current passport.
- Photocopy of Passport: Self-attested photocopies of the first two and last two pages of your current Indian passport, including the page with your valid UAE visa endorsement.
- Application Form: A printout of the online application form (more on this below).
- Passport-Sized Photographs:
- 2 identical recent photographs (some centers may ask for 3-4, so carry a few extras to be safe).
- Size: 2x2 inches (51x51 mm).
- Background: Plain white or off-white.
- Face: Full face, front view, open eyes, natural expression, no shadows.
- Head: Head should be centered and occupy 70-80% of the photo area.
- Glasses: If worn, ensure no glare and eyes are clearly visible.
- Head coverings: Permitted for religious reasons, but must not obscure any facial features.
- Proof of UAE Residency: Original and photocopy of your valid Emirates ID.
- Proof of Address (if applicable): If your address in India needs to be updated, you'll need relevant proof.
- Annexure E (Self-Declaration): A self-declaration form, available on the BLS website, stating that you meet the eligibility criteria for the service.
- Marriage Certificate (if applicable): If you're changing your surname after marriage.
- No Objection Certificate (NOC) / Consent Letter (for minors): If applying for a minor, specific documents from both parents are required.
Important Tip: Always carry the original documents along with their self-attested photocopies. The originals are for verification and will be returned to you.
The entire process involves an online application followed by an in-person visit to a BLS International service center. BLS International is the official partner for Indian passport and visa services in the UAE.
- Visit the Passport Seva website: Go to the official Passport Seva website (for NRI applications).
- Register and Login: If you're a new user, register an account. If you already have one, log in.
- Select Service: Click on "Apply for Fresh Passport/Re-issue of Passport."
- Fill the Form: Carefully fill in all the details.
- Under "Applying For," select "Re-issue of Passport."
- Under "Reason for Re-issue," select the appropriate option (e.g., "Validity Expired/Due to Expire," "Exhaustion of Pages," "Change in Existing Personal Particulars" if you're also updating other details).
- Ensure all personal details match your current passport exactly, unless you are specifically applying for a change in those particulars.
- Crucially, upload your digital photograph as part of the online application. Make sure it adheres to the specified dimensions and quality. This is a preliminary photo, and you'll still need to submit physical copies.
- Print Application Receipt: After filling and submitting the form, you will receive an Application Reference Number (ARN). Print out the application form with the ARN.
- Visit the BLS International website: Go to the BLS International website for passport services in the UAE.
- Navigate to Passport Services: Find the section for "Passport Services" and then "Appointments."
- Book Your Slot: Select your nearest BLS center (e.g., Dubai, Abu Dhabi, Sharjah, etc.) and choose a convenient date and time for your appointment.
- Print Appointment Confirmation: Print the appointment confirmation letter.
Practical Insight: Appointment slots, especially in major cities like Dubai and Abu Dhabi, can fill up quickly. It's advisable to book your appointment as soon as you complete the online application.
On your appointment day, arrive at the chosen BLS International center at least 15-20 minutes before your scheduled time.
- Document Verification: Present your printed application form, appointment confirmation, and all original and photocopied documents. A BLS representative will check everything.
- Biometrics: Your fingerprints and a live photograph will be taken at the center. This is the official photo that will appear in your new passport. Ensure you look presentable and adhere to photo guidelines even for this live capture.
- Fee Payment: Pay the applicable passport re-issue fees. You can usually pay by cash or card, but check the BLS website for current accepted payment methods and exact fees.
- Fees: Expect fees to be around AED 285-300 for a standard 36-page passport, plus an additional BLS service charge (approx. AED 9-15). For a jumbo 60-page passport, it's higher. These are approximate and subject to change, so always check the BLS website for the most current fee structure.
- Collect Receipt: After successful submission and payment, you will receive an acknowledgment receipt with a tracking number. Keep this safe!
You can track the status of your application using the ARN on the Passport Seva website or the tracking number provided by BLS International on their website.
Once your new passport is ready, you will usually receive an SMS notification.
- Collection: Take your old passport, the original acknowledgment receipt, and a valid ID to the BLS center for collection.
- Verification: Verify all details in your new passport immediately upon collection. Report any discrepancies to the BLS staff on the spot. Your old passport will be canceled and returned to you along with the new one.
Processing Time:
The typical processing time for a passport re-issue in the UAE is usually 3-4 weeks. However, this can vary depending on the workload, verification processes, and any specific circumstances related to your application. Tatkal (urgent) service is also available for an additional fee, reducing the processing time significantly (usually 1-2 weeks).
- Photo Specifications are Strict: The most common reason for application rejection is non-compliant photos. Ensure your physical photos and the live photo taken at BLS adhere strictly to the guidelines. No smiling, no shadows, clear background, visible ears (if not covered for religious reasons).
- Review Everything: Double-check all details on your online application form before submission, and again on the printed form. Any errors could lead to delays or rejection.
- Originals vs. Photocopies: Always carry both. You'll need self-attested copies for submission.
- Appointment Punctuality: Arrive on time for your BLS appointment to avoid issues.
- Keep Receipts: The acknowledgment receipt is vital for tracking and collecting your new passport.
- Check Validity of Visa: Ensure your UAE visa is valid for at least six months from the date of application for a smooth process.
- Minor Changes Only: If you're applying for a change in personal particulars (like name, date of birth), make sure you have all the required documentary evidence as listed on the BLS website.
- Can I walk in without an appointment? No, appointments are mandatory for all passport services at BLS International centers.
- What if my UAE visa is expiring soon? It's ideal to apply when your visa has at least six months validity. If it's less, you might face complications or delays, so it's best to renew your visa first if possible.
- What if I made a mistake in the online application? You cannot edit the application once submitted. If it's a minor error, you might be able to correct it at the BLS center with an affidavit, but for major errors, you might need to fill out a new application form online, which means a new ARN and potentially a new appointment.
- Do I need to inform my employer/sponsor? While not strictly required for the passport process itself, it's always good practice to keep your employer informed, especially if you anticipate needing time off for the BLS visit.
- Will my old passport be returned to me? Yes, your old passport will be canceled (usually by snipping off a corner or punching holes) and returned to you along with your new passport. It serves as proof of your previous visas.
Updating your photo in your Indian passport in the UAE is a routine administrative task. By following these steps and paying close attention to the details, particularly photo specifications and document preparation, you can ensure a smooth and hassle-free experience. Good luck!