Navigating government processes can feel daunting, especially when you're in a different country. If you're an Overseas Citizen of India (OCI) living in Dubai and need to renew your OCI card, this guide is for you. We'll break down the process, making it as clear and straightforward as possible, just like someone who's been through it before would tell you.
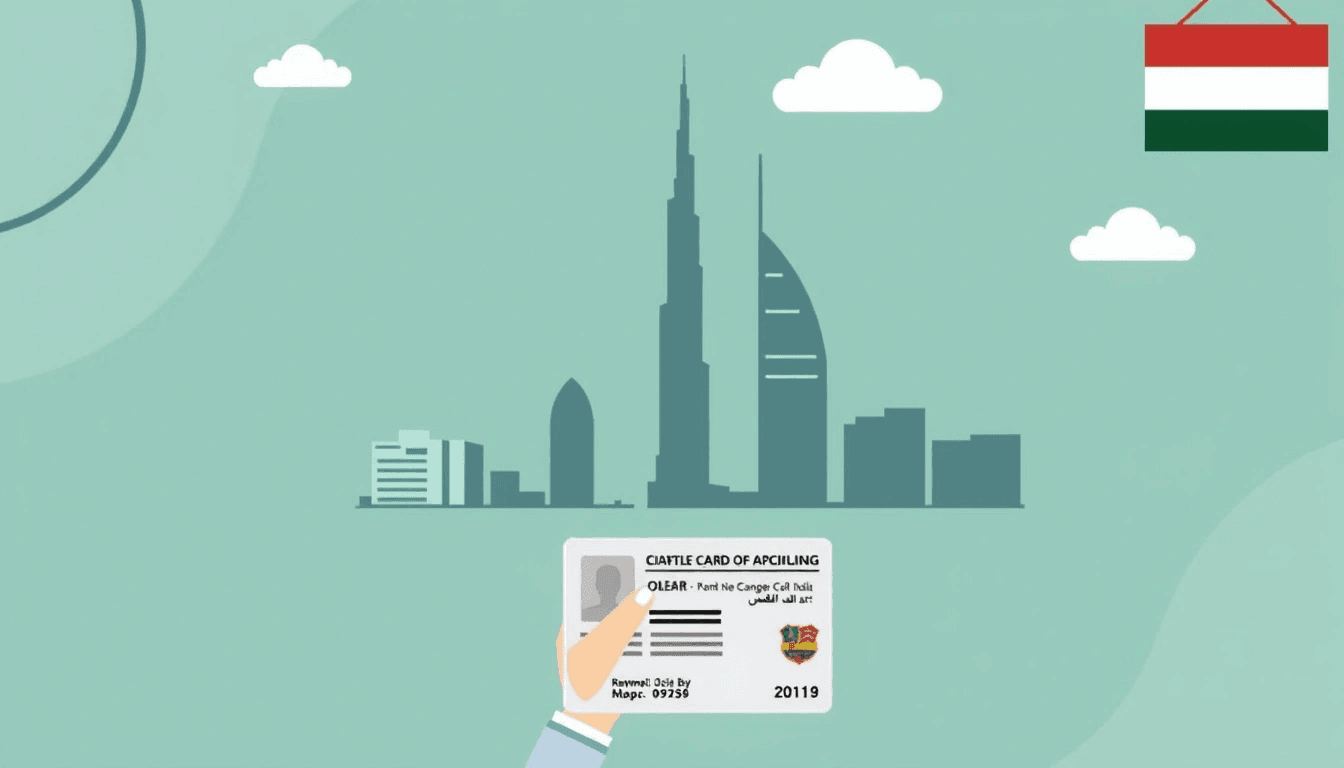
Let's get straight to it: renewing your OCI card in Dubai primarily involves an online application followed by an in-person submission at BLS International, the outsourced service provider for the Indian Embassy in the UAE.
First, understand if you even need to renew. The rules have changed over the years, so here's the current situation:
- Mandatory Renewal at Age 20: If your OCI card was issued before you turned 20 years old, you must re-issue it once your new passport is issued after you turn 20. This is a one-time mandatory re-issuance.
- Optional Renewal at Age 50: If you obtained your OCI card after turning 20 years old, there's no mandatory renewal. However, if you get a new passport after turning 50 years old, it's recommended but not mandatory to re-issue your OCI card to update your new passport details. This helps avoid issues with immigration authorities due to mismatched passport and OCI details.
- No Renewal Needed Otherwise: For any other passport changes (e.g., between ages 21-49, or after age 50 if you haven't changed your passport), you generally do not need to renew your OCI card. You just need to upload a copy of your new passport and a recent photo online. This is often referred to as the "Miscellaneous Services" category, specifically "Passport Particulars Updation."
Important: The information below focuses on the re-issuance process, which is the full renewal. If you only need to update your passport details without a full re-issuance (as per the "no renewal needed otherwise" point above), the process is simpler and falls under "Miscellaneous Services" in the online portal.
Gathering your documents correctly is half the battle. Make sure you have both original documents and photocopies. It's always a good idea to have more copies than you think you'll need.
Here's a standard list for OCI re-issuance:
- Current OCI Card: Original and a photocopy (front and back).
- Current Passport: Original and a photocopy (all pages with details, including observations/endorsements). This is your foreign passport.
- Old Passport(s): Original and a photocopy of the passport(s) under which your OCI was originally issued. If you have multiple old passports, try to provide as many as possible, especially the one that links to your OCI.
- Indian Passport (if applicable): If you ever held an Indian passport, you'll need its original and a photocopy, along with a copy of the surrender certificate.
- Passport Size Photographs: Two recent passport-sized (51mm x 51mm or 2x2 inches) colored photographs with a white background. Make sure they meet strict specifications (no shadows, neutral expression, clear face).
- Proof of Address in UAE: A copy of your Emirates ID, utility bill (DEWA, SEWA, FEWA), or tenancy contract. This should match the address you provide in your application.
- Marriage Certificate (if applicable): If you're applying based on your spouse's OCI/Indian origin, or if your marital status has changed.
- Self-Attested Declaration: A declaration stating that you haven't acquired foreign nationality through fraudulent means, renounced Indian citizenship, etc. (often part of the application form).
- Parent's OCI/Indian Passport (if applying for a minor): Copies of parents' OCI cards or Indian passports, along with their marriage certificate.
- Printed Online Application Form: The completed and signed application form (more on this below).
- Appointment Confirmation: A printout of your BLS appointment booking.
Pro Tip: Create a checklist based on the BLS website for the most up-to-date and specific requirements. Requirements can sometimes vary slightly or be interpreted differently.
This is where the real work begins. Break it down into these manageable steps:
- Visit the OCI Portal: Go to the official Indian government OCI services website: ociservices.gov.in.
- Select "OCI Miscellaneous Services": Even for a full re-issuance, you'll typically start here.
- Register/Proceed: If you're a first-time user for this application, you'll need to register. Otherwise, click "Proceed."
- Fill Out the Form: This is the most crucial part.
- Application Type: Select "Re-issuance of OCI Card."
- Personal Details: Accurately fill in all your personal details, ensuring they match your current passport.
- Passport Details: Enter your current foreign passport details.
- OCI Details: Provide your existing OCI card details.
- Address Details: Your current address in Dubai.
- Family Details: As required.
- Upload Documents: You'll be prompted to upload digital copies of:
- Your Photo: This must be a high-quality, passport-style photo (2x2 inches / 51x51mm) with a white background. Pay close attention to the size and pixel requirements specified on the portal. This is a common reason for rejection.
- Your Signature: Scan your signature on a white background.
- Supporting Documents: Scanned copies of your current OCI, current passport, old passports, etc. Ensure these are clear and within the specified file size limits.
- Review and Submit: Carefully review all the information before submitting. Once submitted, you'll receive a Reference Number. Make a note of this.
- Print Application: Print out the completed application form. It will usually have two parts (Part A and Part B). Sign all required places.
Insight: The online form can be finicky. Save your progress often. If you encounter issues with uploading documents, try resizing them using an online tool or a photo editor.
- Visit the BLS Website: Go to the BLS International UAE website.
- Select Your Service: Look for "OCI Services" and then "Appointment Booking."
- Choose Location: Select the BLS center in Dubai (e.g., Dubai - Business Bay, or Dubai - Deira).
- Fill Details: Enter your personal details and the OCI application reference number obtained from the online portal.
- Select Date and Time: Choose a convenient date and time for your appointment. Slots can fill up quickly, especially during peak seasons.
- Confirm and Print: Confirm your appointment and print the confirmation slip. This is essential for entry to the BLS center.
Challenge Alert: BLS appointments can sometimes be hard to get. Be persistent and check frequently, especially early mornings or late evenings, as new slots might open up.
- Arrive Early: Get to your chosen BLS center at least 15-20 minutes before your scheduled appointment time.
- Bring All Documents: Carry all your original documents, photocopies, the printed online application form, and your BLS appointment confirmation.
- Submission and Verification: At the BLS counter, your documents will be verified. They will check if everything is in order and if your photocopies match the originals.
- Pay Fees: You will pay the applicable OCI re-issuance fees at the counter. They usually accept card payments.
- Receive Acknowledgment: Once everything is processed, you'll receive an acknowledgment receipt with a tracking number. Keep this safe!
Cost: The OCI re-issuance fee is typically around AED 100 (for the government fee), plus BLS service charges (around AED 9) and an additional nominal fee for SMS service and courier, if opted for. The total usually comes to around AED 120-130. Always check the latest fee schedule on the BLS website.
- BLS Tracking: You can track the initial status of your application on the BLS website using the tracking number they provided.
- OCI Portal Tracking: Once BLS forwards your application to the Indian Consulate/Embassy, you can track its progress on the official OCI website (ociservices.gov.in) using your Reference Number and passport number.
Realistic Expectation: The status updates on the OCI portal can sometimes be slow or not very descriptive. Don't panic if it shows "Under Process" for a long time.
- Notification: You'll typically receive an SMS or email notification when your new OCI card is ready for collection at the BLS center. The OCI portal status might also change to "Document received at BLS" or similar.
- Collect in Person: Go to the BLS center with your original acknowledgment receipt and your current passport.
- Verification and Handover: Your identity will be verified, and you'll receive your brand new OCI card!
Timeframe: The entire process, from submission to collection, can take anywhere from 2 to 3 months, sometimes longer. It largely depends on the processing time at the Indian Consulate General in Dubai and the Ministry of Home Affairs in India. Plan accordingly and don't book urgent travel expecting your OCI card to arrive quickly.
- Photo Specifications are Key: This cannot be stressed enough. Many applications get rejected due to incorrect photos. Use a professional photographer who is familiar with Indian visa/OCI photo requirements.
- Signature Consistency: Ensure your signature on the application form matches your signature in your current passport. For minors, a thumb impression (left for boys, right for girls) or parent's signature in the designated box is usually required.
- Online vs. Physical Documents: Ensure that the documents you upload online precisely match the physical documents you submit at BLS.
- Keep Copies of Everything: Before submitting, make an extra set of copies of your entire application, including all supporting documents.
- Don't Rush Travel Plans: As mentioned, the processing time can be lengthy. Do not make irreversible travel plans that depend on receiving your new OCI card by a specific date.
- Check BLS Website Regularly: For the most accurate and up-to-date information on fees, documents, and procedures, always refer to the official BLS International UAE website. Government guidelines can change.
- Be Patient: This is a government process. Patience is a virtue.
Renewing your OCI card in Dubai, while requiring attention to detail and patience, is a manageable process. By following these steps and preparing thoroughly, you'll successfully update your OCI and continue enjoying your status as an Overseas Citizen of India.